Are you fed up with high energy bills and uncomfortable temperatures indoors? Many homeowners face the issue of inefficient ceiling insulation. This leads to constant temperature changes and wasted money.
Feeling cold drafts in winter and hot air in summer can be really tough. It’s not just about making your home look better. It’s about making it comfortable and saving money on energy.
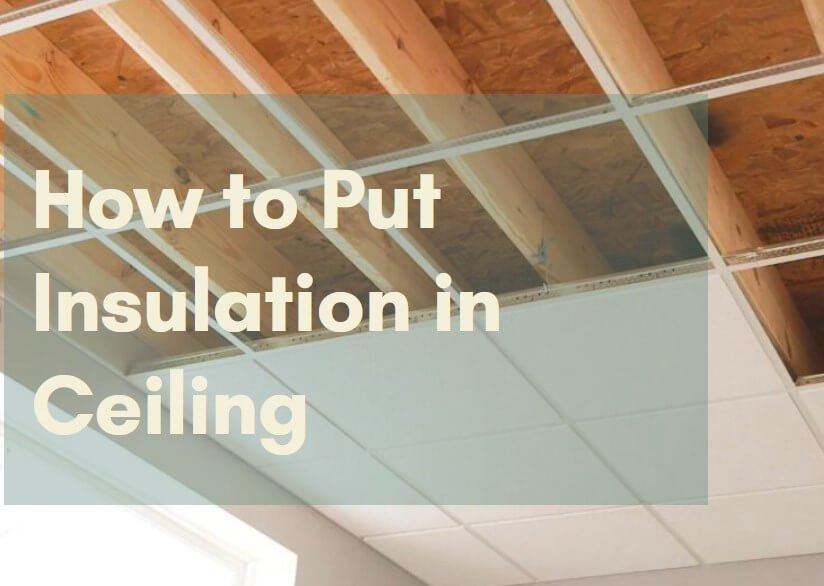
My guide will show you how to insulate your ceiling. You’ll learn techniques that can change your home. It will make your space more comfortable, cut down on energy costs, and save you money.
Essential Tools and Materials for Ceiling Insulation
Starting a DIY ceiling insulation project needs careful planning and the right tools. Before you start with fiberglass insulation, make sure you have everything you need. I’ll show you the key items for a successful ceiling insulation project.
Required Tools for Installation
Here’s what you’ll need in your toolkit for ceiling insulation:
- Drill/driver with various bits
- Utility knife
- Tape measure
- Work light
- Caulk gun
- Screwdriver set
- Putty knife
- Straight edge
Safety Equipment Essentials
When working with fiberglass, safety is a top priority. Here are the must-haves:
- Hard hat
- Work gloves
- Safety glasses
- Dust mask
- Knee pads (optional but recommended)
Measuring and Preparation Tools
| Tool Category | Specific Tools | Purpose |
|---|---|---|
| Measuring Tools | Tape measure | Accurately measure ceiling dimensions |
| Cutting Tools | Utility knife | Cut insulation materials precisely |
| Alignment Tools | Straight edge | Ensure straight cuts and proper placement |
With these tools and safety gear, you’re ready to start your ceiling insulation project. Always double-check your measurements and keep safety first during installation.
Read also: How to Install Rigid Foam Insulation
Understanding Different Types of Ceiling Insulation

Choosing the right insulation for your attic is key to saving energy at home. I’ll explain the main types of ceiling insulation to guide your choice.
Blown-in insulation is great for improving your home’s warmth. Let’s look at the main types:
- Fiberglass Insulation
- Lightweight and affordable
- Comes in batts and loose-fill
- Works well for most homes
- Cellulose Insulation
- Made from recycled materials
- Perfect for tight spots
- Reduces outside noise
- Rock Wool Insulation
- Resists fire well
- Great at blocking sound
- Keeps moisture out
Think about what you need when picking insulation. R-value, climate, and cost are important for the right choice.
Each insulation type suits different needs. Batt insulation is best for open areas. Blown-in insulation is great for tight spots and topping up existing insulation.
How to Put Insulation in Ceiling: Step-by-Step Process
Installing insulation in your attic ceiling is a key home improvement. It boosts your home’s energy efficiency. I’ll guide you through the steps for a professional and effective job.
Before starting, preparation is essential. Here are the first steps to ensure success:
- Clear the work area completely
- Wear protective gear including gloves and safety glasses
- Check for any existing moisture or damage
- Ensure proper ventilation in the attic space
Preparing the Ceiling Area
Start by examining the ceiling area carefully. Seal any gaps or cracks to prevent air leaks. Use caulk or foam sealant around electrical boxes, pipes, and other openings.
Installing Insulation Between Joists
Measure the distance between joists accurately. Choose insulation that fits these measurements. Fiberglass batts or rolled insulation are common choices for attics.
Cut the insulation to fit snugly between joists. Avoid compressing it, as this can lower its effectiveness.
Securing and Finishing the Installation
Place the insulation carefully to avoid gaps. Use staples or supports to secure batts. For loose-fill insulation, rent a blower to spread it evenly.
- Ensure complete coverage without compression
- Leave space for ventilation near roof edges
- Check for any missed spots or gaps
- Clean up and dispose of excess materials properly
By following these steps, you’ll create a thermal barrier. This helps regulate your home’s temperature and cuts energy costs.
Proper Ventilation and Moisture Control Techniques
Understanding ventilation is key for a healthy home. In attic insulation, controlling moisture is vital. It affects your insulation and building structure.
Moisture can ruin your insulation and harm your home’s structure. I’ll share ways to avoid these problems and keep your home safe.
- Install rafter vents at soffit areas to ensure consistent airflow
- Confirm bath fans properly exhaust outside the living space
- Create strategic moisture barriers to block water infiltration
- Use breathable insulation materials for natural air circulation
Good ventilation needs a few steps. Check your attic system and update it before adding new insulation.
| Ventilation Method | Effectiveness Rating | Installation Difficulty |
|---|---|---|
| Soffit Vents | High | Moderate |
| Ridge Vents | Very High | Complex |
| Gable Vents | Medium | Easy |
Using these ventilation methods will keep your insulation dry. This ensures it works well for many years.
Installation Tips for Different Ceiling Types
Insulating different ceiling types needs special approaches and techniques. Each ceiling has its own challenges that need careful thought and specific methods. I’ll show you the best ways to insulate various ceilings for the best thermal performance and energy savings.

When you’re insulating a basement ceiling, you’ll face several important factors. Basements have unique moisture and structural issues that need special insulation methods.
Attic Ceiling Insulation Methods
Attic ceiling insulation needs a strategic layering method. I suggest a two-layer installation:
- First layer: Install insulation between ceiling joists
- Second layer: Place insulation perpendicular to the first layer
- Use rigid foam boards for extra thermal protection
- Make sure to have proper ventilation to avoid moisture buildup
Basement Ceiling Insulation Techniques
For basement ceiling insulation, spray foam ceiling insulation works well. The process involves choosing the right insulation type:
- Use faced insulation for horizontal runs
- Consider foam boards for unframed walls
- Address moisture issues with vapor barriers
- Seal any gaps or air leakage points
Cathedral Ceiling Special Considerations
Cathedral ceilings need a more detailed insulation approach because of their unique design. It’s best to work with professional installers who know how to handle these spaces. They’ll ensure proper ventilation and address any structural limitations.
The right insulation method depends on your ceiling type, local climate, and building structure. Always focus on proper installation to save energy and avoid moisture problems.
Read also: How Thick Should Attic Insulation Be
Common Obstacles and Solutions During Installation
Starting a diy ceiling insulation project can be tricky. You’ll face challenges like electrical boxes, recessed lighting, and plumbing pipes. These obstacles need careful handling.
Through experience, I’ve found key strategies to overcome these hurdles. The main thing is to plan well and be precise.
- Measure electrical boxes carefully before cutting insulation
- Use specialized insulation knife for clean cuts around obstacles
- Maintain proper clearance around heat-generating fixtures
- Install metal barriers near possible fire hazards
Cutting insulation needs patience and focus. Use a sharp utility knife for clean cuts. Make sure the cuts fit well around wiring and boxes. Never squish the insulation, as it lowers its effectiveness.
Always put safety first when insulating ceilings. Wear gloves, safety glasses, and a dust mask. Stay away from hot electrical parts and ensure good air flow while working.
Dealing with tricky spots like junction boxes or recessed lights takes time. Cut the insulation carefully to fit perfectly. This avoids gaps and fire risks.
Safety Measures and Building Code Requirements
When you work on ceiling insulation, keeping yourself safe and following local rules are key. Knowing the right safety steps and building codes can mean the difference between a job well done and safety risks.
Essential Safety Protocols
Personal safety is most important when dealing with ceiling insulation. Here’s what you should wear:
- Respirator mask to prevent inhaling particles
- Safety goggles to protect your eyes from debris
- Long-sleeved clothes and work gloves
- Hard hat for working overhead
Handling insulation materials carefully is vital. Make sure your workspace has good air flow. Also, don’t work alone if you can help it. Always check electrical systems before starting to avoid fires.
Building Code Compliance Guidelines
Knowing the ceiling insulation r-value is key to following building codes. Each area in the U.S. has its own insulation rules.
- Check your local building code for your area
- Look up the minimum R-value for ceiling insulation
- Make sure you follow vapor barrier installation rules
- Keep enough space around heat sources
It’s wise to talk to a local building inspector or a certified insulation expert. They can help make sure your project is safe and meets all standards. This way, you can avoid fines and keep your home energy-efficient and safe.
Cost-Effective Insulation Methods and Materials
When planning your ceiling insulation project, it’s smart to look for cost-effective methods. This way, you can save money while keeping your home energy efficient. The right insulation can cut down your energy costs over time.
Fiberglass insulation is a budget-friendly choice for ceiling insulation. It’s affordable and effective. Here, I’ll share the most affordable ways to make your ceiling more energy efficient without spending too much.
- Compare insulation materials based on R-value and price
- Calculate possible energy savings for each insulation type
- Think about DIY installation to save money
Now, let’s look at the most affordable insulation materials:
| Insulation Type | Average Cost per Sq Ft | R-Value per Inch | Energy Efficiency Rating |
|---|---|---|---|
| Fiberglass Batts | $0.30 – $0.50 | 2.2 – 2.7 | Good |
| Blown-In Cellulose | $0.40 – $0.70 | 3.2 – 3.8 | Very Good |
| Spray Foam | $1.00 – $1.50 | 6.0 – 7.0 | Excellent |
Pro tip: Spray foam has the highest R-value, but fiberglass and cellulose are more affordable. Get quotes from different companies and think about the long-term energy savings for each option.
Investing in good ceiling insulation can lower your energy bills by up to 20% each year. Picking the right material and installation method is essential. It helps keep your home energy efficient while staying within your budget.
Conclusion
Putting insulation in ceiling spaces might seem hard, but it’s doable. I’ve shown you how to tackle it step by step. This includes picking the right materials and learning how to install them to save energy.
Installing attic insulation needs careful planning and detail. This guide will help you make your home more comfy and cut down on energy bills. Remember, good insulation is a smart investment in your home’s future.
Always put safety first when insulating your home. Wear protective gear, follow local rules, and ask for help if needed. With the knowledge you’ve got, you can make your home more energy-efficient and cozy.
Your DIY insulation project is just the start. Keep an eye on your home’s temperature and adjust as needed. The skills you’ve learned will help you keep your home well-insulated and energy-smart for years.


