Are cold drafts and high energy bills getting you down? Insulating walls without removing drywall might seem tough, but it’s simpler than you think. Many homeowners spend too much on heating and cooling because of bad wall insulation.
I’ll show you how to insulate walls without taking down the drywall. This can save you money and make your home more comfortable. It can even cut your energy costs by up to 15% and keep your home warm all year.
Ready to learn how to insulate your walls without removing the drywall? This will help lower your energy bills.
Understanding Wall Insulation Basics
Knowing how to add insulation to walls without removing drywall is key. Proper insulation can make your home more energy-efficient and comfortable. I’ll share the essential info you need to choose the right insulation.
Read also: Install Removable Magnetic Window Insulation
Types of Insulation Materials
There are several good options for insulating walls without removing drywall:
- Blown-in cellulose insulation
- Injection foam
- Fiberglass batt insulation
- Spray foam insulation
Benefits of Proper Wall Insulation
Adding insulation to your walls has many benefits:
- Lower energy bills
- Better home comfort
- Less noise
- Higher property value
R-Value Requirements by Region
Knowing about R-value is important for good insulation. Each area needs a certain level of insulation to save energy.
| Climate Zone | Wall R-Value | Recommended Insulation |
|---|---|---|
| Northern Regions | R-13 to R-21 | Thick foam or dense cellulose |
| Southern Regions | R-11 to R-15 | Lighter insulation materials |
| Moderate Climates | R-13 | Standard fiberglass |
With these basics, you’re ready to boost your home’s energy efficiency without big renovations.
Assessing Your Home’s Insulation Needs
Figuring out your home’s insulation needs is key to a cozy and energy-saving home. Many homes, like older ones, often lack proper wall insulation. I’ll show you how to check your home’s drywall insulation tips and energy-saving wall insulation needs.
Begin with a simple home energy audit. Look for signs of bad insulation:
- Drafty rooms with uneven temperatures
- High energy bills
- Cold walls during winter
- Noticeable temperature differences between rooms
Here are some ways to check your home’s insulation:
- Infrared thermometer scan of interior walls
- Electrical outlet temperature check
- Blower door test for air leakage
| Insulation Assessment Method | Difficulty Level | Estimated Cost |
|---|---|---|
| DIY Infrared Scan | Moderate | $50-$150 |
| Professional Energy Audit | Low (for homeowner) | $300-$500 |
| Blower Door Test | High | $200-$400 |
If you’re unsure, get a pro energy auditor. They can give you a detailed report on your home’s insulation needs. This will help you choose the best energy-saving wall insulation options.
Tools and Materials Required for DIY Wall Insulation
Starting a diy wall insulation project needs careful planning and the right tools. I’ll show you the essential tools and materials for a successful and safe insulation project.
Essential Safety Equipment
When you start your diy wall insulation, safety is key. You’ll need to protect yourself from dangers with the right gear:
- Respirator mask with HEPA filter
- Safety goggles
- Disposable protective coveralls
- Thick work gloves
- Hard hat (for overhead work)
Insulation Installation Tools
To make your insulation project easier, get these important tools:
- Cordless drill with variable speed
- Hole saw attachment (2-inch diameter)
- Stud finder
- Thermal imaging camera or infrared thermometer
- Tape measure
- Level
Required Materials Checklist
Having the right materials is key to a successful diy wall insulation project:
- Blown-in cellulose or fiberglass insulation
- Insulation blower (can be rented)
- Plastic sheeting for floor protection
- Spray foam for sealing small gaps
- Wall patch kit for covering drill holes
Using the right tools and materials makes insulation easier and more effective. It also helps save energy and protect your home.
How to Insulate Walls Without Removing the Drywall
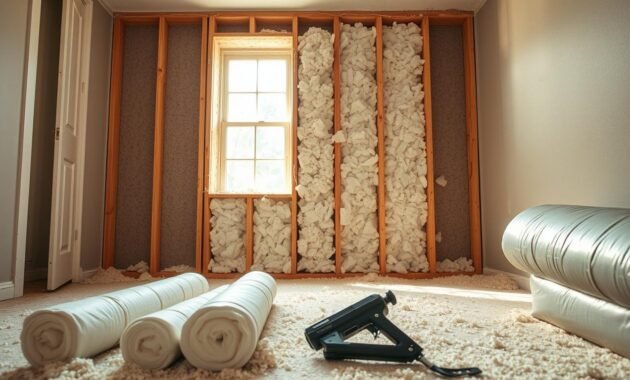
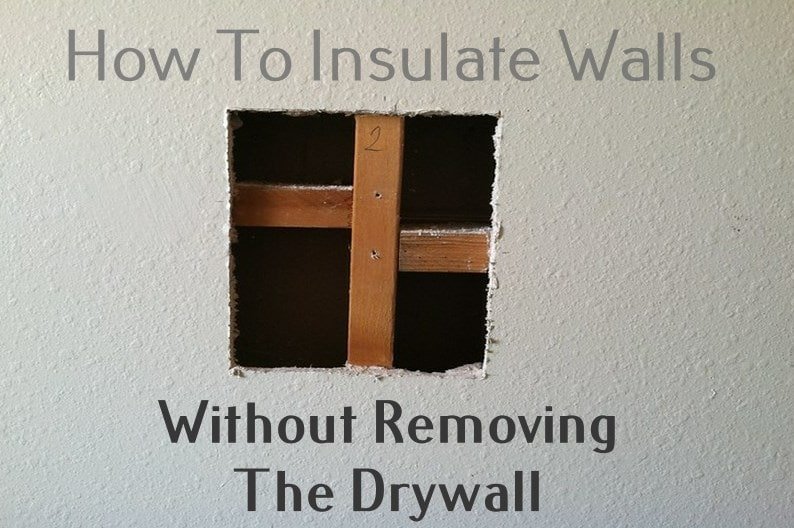
Insulating walls without removing drywall is a big win for homeowners. It boosts energy efficiency without damaging your walls. Let’s explore the best ways to do it.
There are several DIY options for insulating walls without removing drywall. The drill and fill method is the most common. It lets you add insulation through small holes.
- Identify wall cavities using a stud finder
- Drill small holes between wall studs
- Use specialized blown-in insulation equipment
- Patch and paint holes after installation
Yes, you can insulate walls without removing drywall. This method involves making small holes to inject insulation. Materials like cellulose or foam work well, covering the walls without damage.
Remember to wear safety gear like glasses and a dust mask. After insulating, seal and paint the holes to keep your walls looking good.
Different insulation materials have their own perks:
- Cellulose: Eco-friendly and cost-effective
- Foam insulation: Provides superior air sealing
- Fiberglass: Lightweight and easy to install
Choosing the right insulation can greatly improve your home’s energy use. It’s a smart move that saves you from the hassle and cost of removing drywall.
The Drill and Fill Method Explained
The drill and fill method is a big deal for homeowners wanting to save energy. It’s a way to make your home more energy-efficient without tearing down walls. This method lets you add insulation with little disruption.
This method changes how your home keeps heat. I make small holes in walls to get to the cavities. Then, I fill these spaces with insulation. It’s great for walls that can’t be touched by usual insulation methods.
Finding Wall Studs and Cavities
Finding wall studs is key for good insulation. I use these tools:
- Electronic stud finder
- Thermal imaging camera
- Magnetic stud detector
Proper Drilling Techniques
Drilling holes for insulation needs to be precise. I use a careful method to avoid damaging the wall:
- Mark stud locations carefully
- Use a drill bit slightly larger than injection nozzle
- Drill holes between studs at strategic intervals
- Maintain consistent hole spacing
Filling Wall Cavities Effectively
After drilling, I fill the cavities with insulation. I aim for even coverage. Blown-in cellulose or fiberglass works well for this.
Learning the drill and fill method can greatly improve your home’s energy use. It’s a smart way to save money and avoid the hassle of tearing down walls.
Blown-In Insulation Process
Blow-in wall insulation is a smart choice for homeowners wanting to save energy. It lets you insulate walls without tearing down drywall. This makes it perfect for many homes.
The process of blow-in insulation has several important steps:
- Identifying wall cavities and possible insulation spots
- Drilling small holes in the exterior walls
- Using special equipment to blow insulation into the walls
- Sealing and fixing the holes
This method is great for older homes with little insulation. It fills hard-to-reach spots and makes walls more even in temperature.
| Insulation Material | R-Value per Inch | Best Used For |
|---|---|---|
| Cellulose | 3.6-3.8 | Existing walls, eco-friendly option |
| Fiberglass | 2.2-2.7 | Most residential applications |
| Mineral Wool | 4.0-4.3 | Fire-resistant areas |
Blow-in wall insulation is a top pick for insulating without removing drywall. It usually takes a few hours. It greatly boosts your home’s energy efficiency and comfort.
Professional vs DIY Installation Considerations
Homeowners must decide whether to insulate walls without removing drywall themselves or hire experts. The cost can differ a lot based on your choice.
Deciding between DIY and professional installation is important. Your skills, time, and budget are key factors to consider.
Cost Comparison Analysis
Here’s a look at the costs of insulating walls without removing drywall:
Read also: How Much Does Attic Insulation Removal Cost?
- DIY Costs:
- Equipment rental: $50-$200
- Insulation materials: $500-$1,500
- Additional tools: $100-$300
- Professional Installation:
- Full service cost: $1,500-$3,500
- Includes materials and labor
- Guaranteed workmanship
Time and Effort Requirements
DIY wall insulation takes a lot of time and effort. A professional team can finish the job in 1-2 days. Homeowners might spend weekends on it.
If you’re good at DIY and have time, it might save money. But if you’re busy or not skilled, hiring pros is better. They offer quick and reliable results.
Common Mistakes to Avoid During Installation
Working on a drywall insulation project can be tricky. But, knowing how to avoid common mistakes can save you a lot of time and money. It also helps prevent damage to your home. Drywall insulation tips are essential for a job well done, making your home more energy-efficient.
One big mistake is putting too much spray foam in wall cavities. This can harm your home’s structure. It’s best to stop spraying when you feel resistance or see the drywall bulge.
- Avoid overfilling wall cavities with insulation material
- Always check for proper air sealing before installation
- Select the right insulation type for your specific wall structure
- Wear appropriate safety equipment during installation
Choosing the wrong insulation is another common mistake. Different walls need different insulation types. Spray foam might be great for one area but not another. Always research the needs of each wall before starting your project.
Your safety should always come first. Bad installation can cause moisture issues, lower energy efficiency, and even damage your home’s structure. Take your time, follow the manufacturer’s instructions, and seek help if you’re unsure about anything.
Getting the insulation right is all about technique. Measure twice, cut once, and make sure there are no gaps or compression. These tips will help you get a job done like a pro, improving your home’s comfort and energy use.
Patching and Finishing After Insulation
After you finish your insulation project, it’s time to make your walls look like new again. This step is key to keeping your home looking great and saving energy.
Fixing the small holes from insulation needs care and the right methods. I’ll show you how to make your walls look perfect.
Wall Repair Techniques
Choosing the right materials and methods is essential for wall repair. Here are the main ways to fix holes after insulation:
- Use drywall repair discs for small holes
- Apply self-adhesive drywall patches for medium-sized openings
- Cut and install drywall plugs for larger holes
Paint Matching Tips
Finding the perfect paint match can be hard, but I have some expert tips. They’ll help you blend the repair spots seamlessly.
| Matching Strategy | Details |
|---|---|
| Color Matching | Use a paint chip or digital color matching at local hardware stores |
| Sheen Selection | Match the original wall’s finish (flat, eggshell, semi-gloss) |
| Application Technique | Use a small foam roller for smooth, even coverage |
Pro tip: Always test your paint match in a small, hidden area first. Check how the color looks under different lights to get a perfect match.
With these tips, your walls will look brand new after your insulation project. A little effort in repair will keep your home beautiful and save energy.
Energy Savings and ROI Analysis
Adding energy-efficient wall insulation can change how your home uses energy and your wallet. You’ll see big cuts in your monthly bills with the right insulation.
Here are the financial perks of energy-efficient wall insulation:
- Average energy bill drop of 15-20%
- Yearly savings of $300-$500
- Higher home value
- Better home comfort
Let’s dive into how much you can save with insulation:
| Insulation Type | Initial Cost | Annual Energy Savings | Payback Period |
|---|---|---|---|
| Blown-In Cellulose | $1,500 | $400 | 3.75 years |
| Spray Foam | $2,500 | $500 | 5 years |
| Fiberglass | $1,000 | $300 | 3.33 years |
Choosing the right insulation is key to getting the most from your investment. A pro energy audit can show you the best insulation for your home.
Quality insulation means more than just saving money. It makes your home cozy and energy-smart, saving you money for years.
Read also: Blown-In Insulation VS Spray Foam: Which Is Better?
Alternative Insulation Methods for Existing Walls
Homeowners have many new ways to insulate walls without tearing out the drywall. I’ll look at some advanced methods that can make your home more energy-efficient.
Injection foam spray kits are a strong choice for insulating walls without removing drywall. These kits let you fill wall spaces with foam through small holes. This creates a good thermal barrier.
- Injection Foam Spray
- Blown-In Cellulose
- Spray Foam Insulation
- Reflective Barrier Systems
Each insulation method has its own benefits. Blown-in cellulose is eco-friendly, made from recycled paper with fire protection. Spray foam is great for sealing air.
| Insulation Method | Cost Range | Effectiveness | Installation Difficulty |
|---|---|---|---|
| Injection Foam | $1.50-$3 per sq ft | High | Moderate |
| Blown-In Cellulose | $1-$2 per sq ft | Medium | Easy |
| Spray Foam | $2.50-$4 per sq ft | Very High | Complex |
Getting advice from a pro can help pick the best insulation for your walls. Spend time researching and comparing to make a smart choice.
Conclusion
In this guide, I showed you how to insulate walls without removing drywall. Making your home more energy-efficient is easy. You can do it by learning about the drill and fill method and other insulation techniques.
Adding wall insulation is a smart move for saving energy in the long run. It helps lower your heating and cooling bills and makes your home more comfortable. You can do it yourself or get help from professionals. Either way, you’ll make a smart choice.
First, check what insulation your home needs. Look at your walls, know the R-value for your area, and pick the best insulation. Insulating your walls is easy and can make a big difference in your home’s warmth.
Every home is different, so what works for one might not work for another. If you hit a snag, don’t hesitate to ask for help. Your effort to make your home more energy-efficient is a step towards a better living space.
