Are you fed up with high energy bills and cold rooms? Poor wall insulation is a big problem for many homeowners. It makes your home feel cold and uncomfortable.
This guide will teach you how to add insulation to your walls. You’ll learn DIY tricks that pros don’t share. With these tips, you can make your home more energy-efficient and save money.
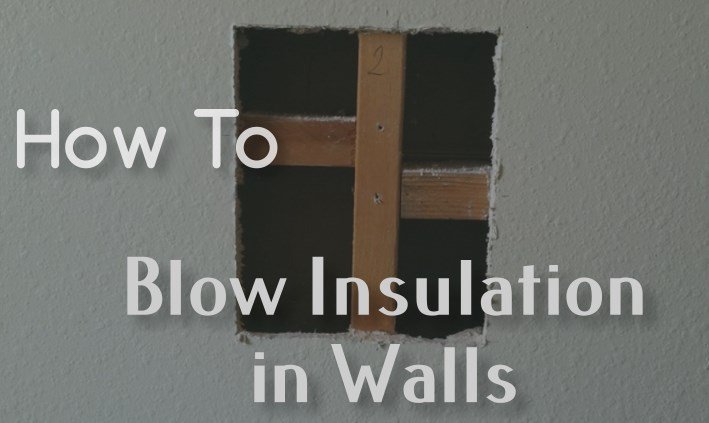
Understanding Blown-In Wall Insulation Basics
Learning about blown-in wall insulation is key for home improvement. It boosts energy efficiency and comfort. This method is effective for your living space.
Understanding the cost and materials of blown insulation is important. It helps you improve your home’s energy performance. Let’s dive into the main points of this insulation method.
Read also: How to Cut Roll Insulation Accurately
Types of Blown-In Insulation Materials
I’ve worked with different insulation materials. Each has its own benefits:
- Cellulose: Made from recycled paper, treated for fire safety
- Fiberglass: Light and good against moisture
- Mineral wool: Great for sound dampening
Benefits of Blown-In Wall Insulation
Choosing blown-in insulation brings many advantages:
- It makes your home warmer
- It cuts down energy use
- It improves sound quality
- It controls moisture better
Energy Savings and ROI
The initial cost of blown insulation might seem high. But, the long-term savings are worth it. Homeowners can see their money back in 3-5 years.
My research shows that good insulation can lower heating and cooling costs by 20%. It’s a wise investment for any homeowner.
Essential Tools and Materials Needed
Before you start blowing insulation in walls, it’s important to have the right tools and materials. Knowing how much insulation you need begins with the right equipment and safety gear.
Here are the essential tools you’ll need for your wall insulation project:
- Insulation blowing machine (rental or purchase)
- Protective safety gear:
- Safety glasses
- Dust mask or respirator
- Work gloves
- Long-sleeved clothing
- Drill and various drill bits
- Stud finder
- Measuring tape
- Ladder or scaffolding
- Patching materials for access holes
To figure out how much insulation you need, calculate your wall cavity volume. Home improvement stores have calculators to help you estimate. It’s best to buy a bit more insulation than you think you’ll need. This way, you can cover any settling or uneven spaces.
The main insulation materials for blown-in wall insulation are:
- Fiberglass
- Cellulose
- Mineral wool
Pro tip: Rent an insulation blowing machine from a local hardware store if you don’t want to buy one. This can save you money and give you access to professional-grade equipment.
How to Blow Insulation in Walls: Step-by-Step Process
Starting a DIY insulation project needs careful planning and execution. I’ll show you how to blow insulation in existing walls safely and effectively.
Before you start, preparation is key. The process involves several important steps that can affect your project’s success.
Safety Preparations
When working with insulation, safety comes first. Here are the essential safety measures:
- Wear protective gear including:
- Respirator mask
- Safety goggles
- Long-sleeved clothing
- Work gloves
- Ensure proper ventilation in the work area
- Clear the workspace of furniture and obstacles
Wall Assessment Techniques
Before starting, a thorough wall assessment is vital. Here are the steps I recommend:
- Inspect wall cavities for existing insulation
- Check for moisture or damage
- Measure wall cavity depths
- Identify any obstacles like electrical wiring
Installation Methods
Learning the right installation technique is essential. Here’s the most effective approach:
| Installation Step | Key Considerations |
|---|---|
| Drilling Access Holes | Create strategic holes between wall studs |
| Material Selection | Choose the right insulation type (fiberglass or cellulose) |
| Blowing Technique | Use steady, consistent pressure to fill cavities completely |
| Hole Sealing | Patch and paint holes after insulation installation |
By following these steps, you’ll successfully complete your insulation project. This will improve your home’s energy efficiency and comfort.
Identifying Wall Studs and Cavities
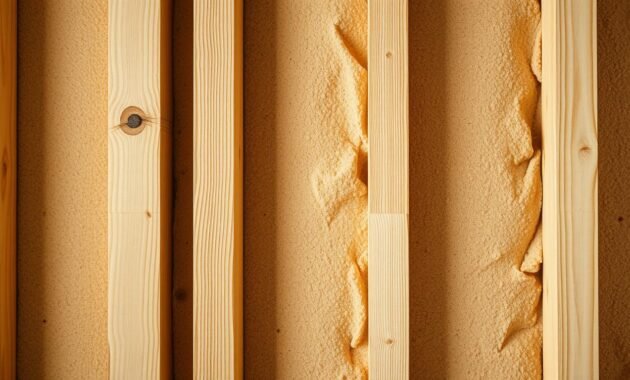
Before you can blow insulation into existing walls, you need to find the wall studs and cavities. This step is key to a successful insulation job and keeps your home safe from damage.
Use a good stud finder to find the wall studs. These tools show you where the wooden frames are behind the drywall. Top-notch stud finders can spot both metal and wood studs very accurately.
- Electronic stud finders work best for modern construction
- Magnetic stud finders help locate metal fasteners
- Knocking technique can serve as a backup method
The knocking test is another old but reliable way to find studs. Tap the wall gently to hear changes in sound. Solid sounds mean studs, while hollow sounds show where you can blow insulation.
Before you start, check your wall cavities for any obstacles. Old wiring, pipes, or unexpected blocks can make things harder. A small hole lets you see what’s inside and plan your insulation.
- Check for electrical wiring paths
- Verify cavity depth and width
- Ensure no existing obstructions
Not all walls can handle blown-in insulation. Older homes or walls with complex structures might need a pro to figure out the best way to insulate.
Creating Access Holes for Insulation Installation
Getting your walls ready for blown-in insulation needs careful planning. You must create holes correctly to avoid damage and ensure full coverage. I’ll show you how to make holes that won’t raise the cost too much.
Proper Hole Sizing Strategies
Choosing the right hole size is key for good insulation installation. I suggest using a 1-inch to 2-inch hole saw for most homes. The best size depends on your wall type and insulation.
- Typical hole diameter: 1.5 inches
- Space between holes: 16-24 inches
- Height placement: Between wall studs
Wall Drilling Techniques
Drilling holes needs precision. Mark your spots carefully to avoid wires and pipes. Use a stud finder to find safe spots. This way, you can drill holes that are effective and don’t damage the wall too much.
Hole Pattern Strategy
Planning your hole pattern is important for full coverage. I usually suggest a zigzag or staggered pattern. This pattern spreads insulation evenly and saves on costs by using less material.
- Start at the bottom of the wall
- Work upward in alternating sections
- Ensure complete cavity coverage
By using these methods, you’ll make holes that help your insulation project save money and be efficient.
Preparing the Wall Cavity and Removing Debris
Learning how to blow insulation in walls starts with preparing the cavity. I’ll guide you through the key steps to get your walls ready. A clean cavity means better insulation and fewer installation issues.
Before you begin, inspect the cavity carefully. Look out for:
- Moisture damage
- Existing debris
- Structural gaps
- Old or damaged insulation
Removing old insulation needs a special touch. Use a vacuum made for insulation removal. This keeps dust out of your home. Always wear:
- Safety goggles
- Dust mask
- Work gloves
- Long-sleeve clothing
Cleaning the cavity involves different methods. Use compressed air for loose debris and a brush for tough spots. Make sure to remove all debris before adding new insulation.
| Cavity Preparation Step | Key Actions | Time Required |
|---|---|---|
| Inspection | Visual check, moisture test | 30-45 minutes |
| Debris Removal | Vacuum, compressed air | 1-2 hours |
| Final Cleaning | Brush, air blow | 30 minutes |
Getting your wall cavity ready is key to good insulation. Spend time cleaning and checking your walls. This will help you save energy and keep your home warm.
Operating the Insulation Blowing Machine
Learning to use the insulation blowing machine is key for DIY wall insulation. It helps you cover walls evenly and save energy. Here’s how to use your machine like a pro.
Before starting, setting up the machine is important. First, pick the right machine for your insulation and wall size.
Machine Setup Guidelines
- Check the machine for damage or wear
- Make sure all connections are tight
- Look for blockages in the hose
- Make sure the machine works with your insulation
Material Feed Rate Control
It’s important to control how fast you feed the insulation. Start slow to avoid packing too much or leaving air pockets.
| Feed Rate | Insulation Type | Recommended Speed |
|---|---|---|
| Slow | Fiberglass | 2-3 lbs per minute |
| Medium | Cellulose | 3-4 lbs per minute |
| Fast | Mineral Wool | 4-5 lbs per minute |
Pressure Settings
Right pressure is essential for even insulation. Each material needs a specific pressure for best results.
- Start with the recommended pressure
- Adjust as needed based on your walls
- Watch the insulation density
- Use a gauge for consistent pressure
By following these steps, you’ll be ready to do your DIY insulation project well.
Proper Wall Cavity Filling Techniques
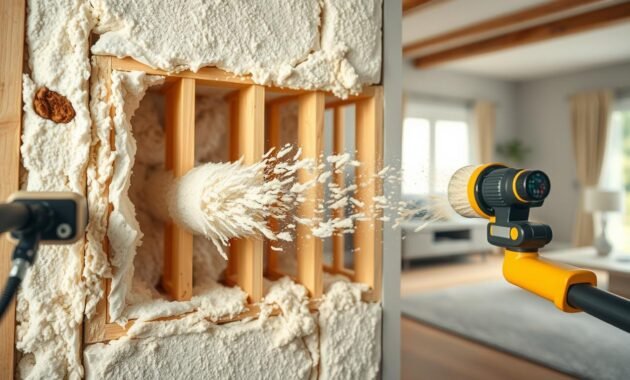
Learning how to blow in insulation in walls is key for energy savings. I’ll share tips on getting even coverage.
For effective insulation, keep the pressure steady and spread the material well. Start at the wall’s bottom, moving up slowly. This avoids air pockets and ensures even coverage.
- Check cavity density by feeling the wall’s firmness
- Use gentle, steady pressure during insulation application
- Rotate the hose to distribute material evenly
- Monitor material flow to prevent overfilling
When blowing insulation, focus on these important steps. Stop to test the fill level by tapping the wall. A solid feel means it’s done right. Don’t press too hard, as it lowers the insulation’s heat-saving power.
Professional tip: Use a borescope or infrared camera to check coverage. This spots any gaps that could harm your insulation’s performance.
Sealing and Patching Access Holes
After you’ve finished blowing insulation into existing walls, sealing and patching access holes is key. This step keeps your insulation working well and your walls looking good.
Sealing holes right is important. It stops air leaks and keeps your walls strong. I’ll show you the best ways to seal holes in different types of walls.
- Drywall patches: Use lightweight spackling compound
- Plaster walls: Apply specialized plaster repair mix
- Wooden walls: Use wood putty or wood filler
Here’s a quick guide to matching patch materials with wall types:
| Wall Material | Recommended Patch Material | Difficulty Level |
|---|---|---|
| Drywall | Spackling compound | Easy |
| Plaster | Plaster repair mix | Moderate |
| Wood paneling | Wood filler | Easy |
Pro tip: Always sand the patched area smoothly. Then, apply a matching paint color. This makes the repair almost invisible when you’re done blowing insulation into existing walls.
Conclusion
Learning to blow insulation in walls can greatly improve your home’s energy use. I’ve shown you how to do it, from picking materials to installing them. This effort can save you a lot on your energy bills over time.
The cost of blown insulation in walls might seem high at first. But, the savings you’ll get later make it worth it. Insulating your walls well keeps your home comfortable and uses less energy. Professional services cost between $1,000 and $4,000, but doing it yourself can save a lot of money.
It’s important to do the insulation job right. Take your time, follow safety rules, and don’t hurry. Make sure to seal all holes, check for full coverage, and fill all air gaps. Your hard work will make your home more comfortable and save you money on heating and cooling.
With the right tools, preparation, and patience, you can do this project well. Your home will stay at a better temperature, sound better, and use less energy for many years.
