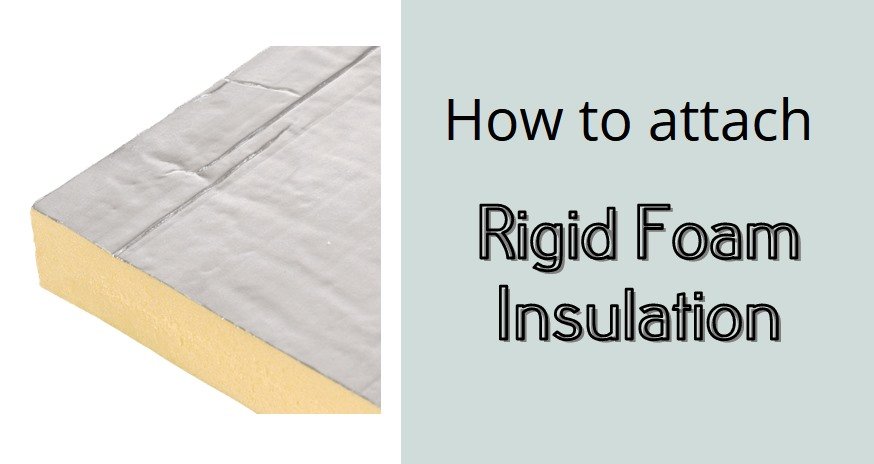
How to attach rigid foam insulation? It is actually easy to do so if you understand the step-by-step. You don’t even need a professional’s help to do that. You can make it your DIY project. If you are curious about what you can do to attach a rigid foam insulation onto your wall, this article is the right piece.
How to Attach Rigid Foam Insulation to Studs
Wondering how to attach rigid foam into studs? Here is the procedure that you can do to complete that:
- First, measure the area where you want to put the insulation on. To do this, you can get a measuring tape and then measure the wall area as a whole. This will help you to determine how much rigid foam you will need to purchase.
- You need to know that you don’t have to subtract the studs from your measurement.
- For example, you have a wall 40 feet long by 8 feet high.
- Then, the minimum rigid foam insulation amount you will need is 320 square feet. You can buy more, but not less.

- Then, measure the size of each bay. For example, if your studs are placed one for each 16-inch, you will have the width of your bay of around 14 inches. Each bay may differ in length, but not in length. That said, it’s safer to measure each bay one by one.
- Then, cut the foam according to the measurement you have done from the previous step. You can cut the foam using a wood saw.
- Now, install the insulation into the bay. After making sure that the foam can fit the bay, you can use a low-expanding sealant to seal them. That way, you can make the insulation to be placed tightly. If there is any extra foam that surpasses the size of the bay, you can trim it off with a saw.
How to Attach Rigid Foam Insulation to Concrete
How to attach rigid foam insulation to a concrete wall? Typically, many people use sealant in order to stick the foam onto a concrete wall. It is a quick solution that can even help DIY workers to be able to do it faster.
The first several steps to do it are similar to the aforementioned step-by-step–which is to measure the size of the wall first. Then, you can cut the foam according to the size you have measured.
Now onto the attaching procedure. The first steps are as follows:
- Prepare your sealant. This means you need to cut the tip of a foamboard adhesive using a utility knife. Then, pierce the seal with a sharp yet thin object. Continue by fitting it onto the caulk gun and making the adhesive fill the nozzle.
- As you are ready to glue the foam, you can make a line on the back side of the foam panel. Then, you can raise the glued panel and press it onto the wall. Don’t take your hands off unless the adhesive has been set. It will not cost you an arm since you only need to wait for a minute or two.
- If the glue isn’t enough to handle the foam, you can drive a concrete nail (sized 1.5 inches) onto the panel. But don’t make it through the concrete as it will act only as a temporary ‘support.’
- Continue adding adhesive onto the next panel and press it against the concrete wall.
To do the procedure above, you will need these things below:
- Adhesive for foamboards.
- Caulk gun
- Concrete nails sized 1.5 inches (optional)
- Hammer (optional, required when needed)
- Utility knife
Hopefully, the explanation above answers your question about how to attach rigid foam insulation. It is so easy to attach it to the wall, especially if you are using sealants.


